
Here is the complete step by step guide on how to press rosin for optimal yield using a manual hand-crank rosin press machine.
So, you already know the benefits of pressing rosin and now you’re geared up and ready to get started pressing your own. In this guide, I will show you everything you need to know, to produce the purest medical-grade cannabis concentrate available.
Contents
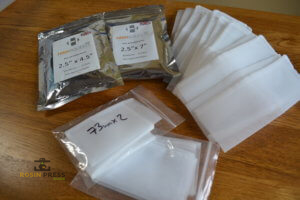
What you need to press rosin
- 4g high-quality bud
- x1 micron bag
- x1 hand-crank rosin press machine
- x1 sheet of parchment paper
- x1 rosin collection or dabbing tool
Pressing your own rosin at home is cheap to get started, with everything in the list above cost under $450.
Once you pay the initial start-up costs, the only other ongoing costs are your replacement micron bags, greaseproof paper and bud.
To extract rosin it’s important you use high-quality bud/flower.
Here we’re using our favourite Green Crack strain which has been hydrated for ideal moisture content using the weed rehydration technique.
Loading your micron bag
This is the first vital step if you want to know how to press rosin properly.
To yield the best results you first need to master the fine art of bag loading. So first start here and learn how to load your micron bag ready for squishing.

In the picture above you can see the micron bag already loaded with bud and folded closed, held in the tweezers ready to go. The parchment paper is cut to fit the size of the press with the sides folded upwards. Now we’re good, it’s time to position this little baby in the press.
Position micron bag inside rosin press
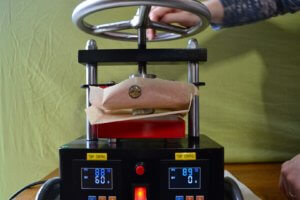
For pressing rosin, we’re using the manual hand-crank rosin press machine available on Amazon in the UK, US and Canada for under $400.
Turn the press on and set the desired temperature. My press always heats 5 degrees higher than where you set it, then slowly comes down to stabilise. Newer models heat up slower then stop exactly where set, so bear this in mind when getting set up.
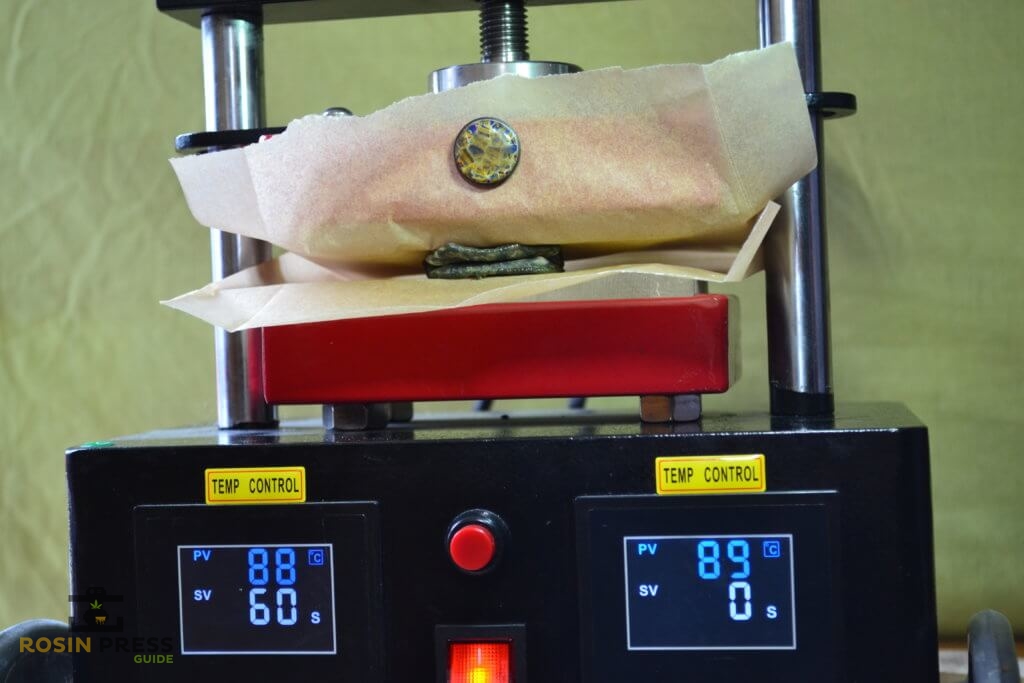
You can see the temperature in blue at the top of the display and the desired 60 seconds set on the timer in white below the temperature:
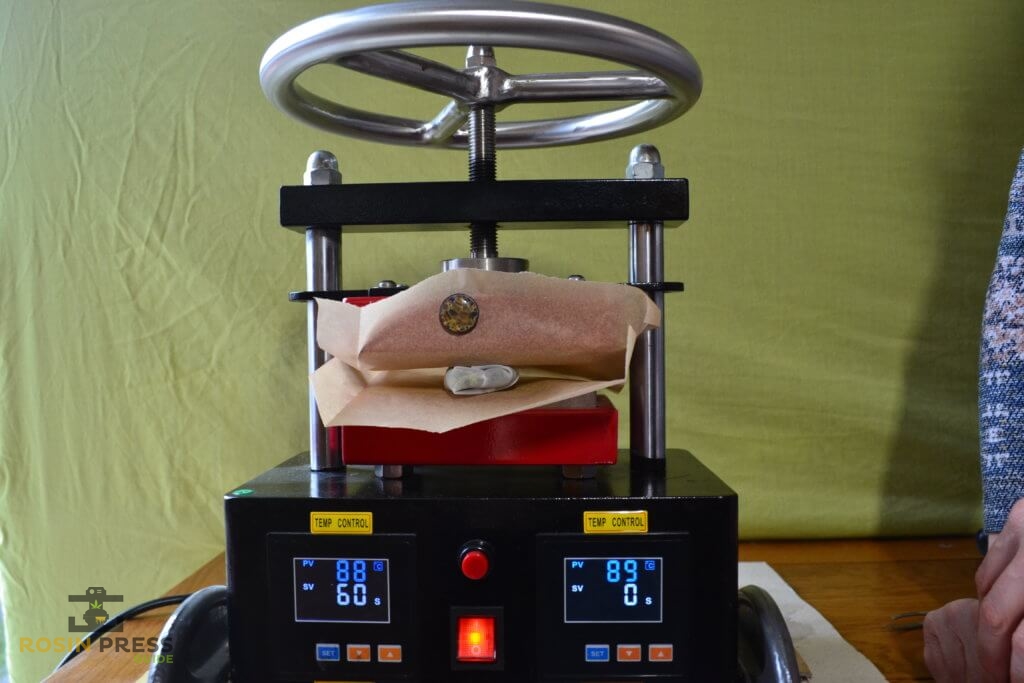
The display on the left is controlling the bottom plate hence it is a slightly lower temp (88 degrees) with the right display controlling the top plate (89 degrees).
Pro tip: Notice the parchment placed centrally with a small round magnet holding the top piece to the plate so we can watch the squish in action.
Also, notice how the rosin press plates are nice and close together so the loaded micron bag fits in snugly and cannot come unfolded resulting in contaminated concentrates.
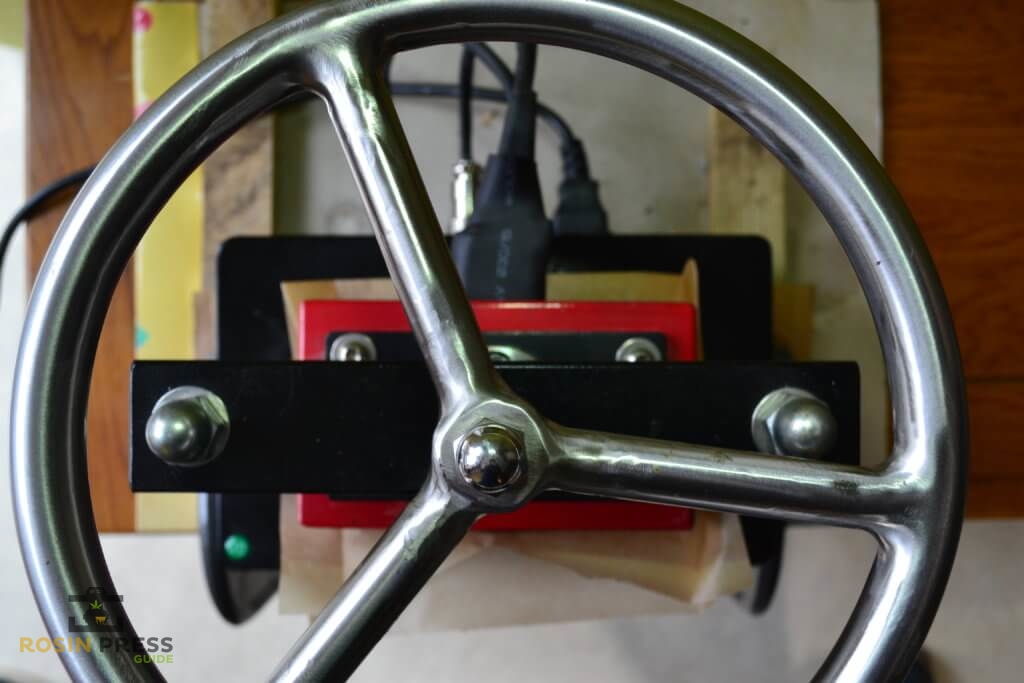
The parchment paper is pushed behind the press, to allow for rosin collection equally at all sides, as shown in the picture below:
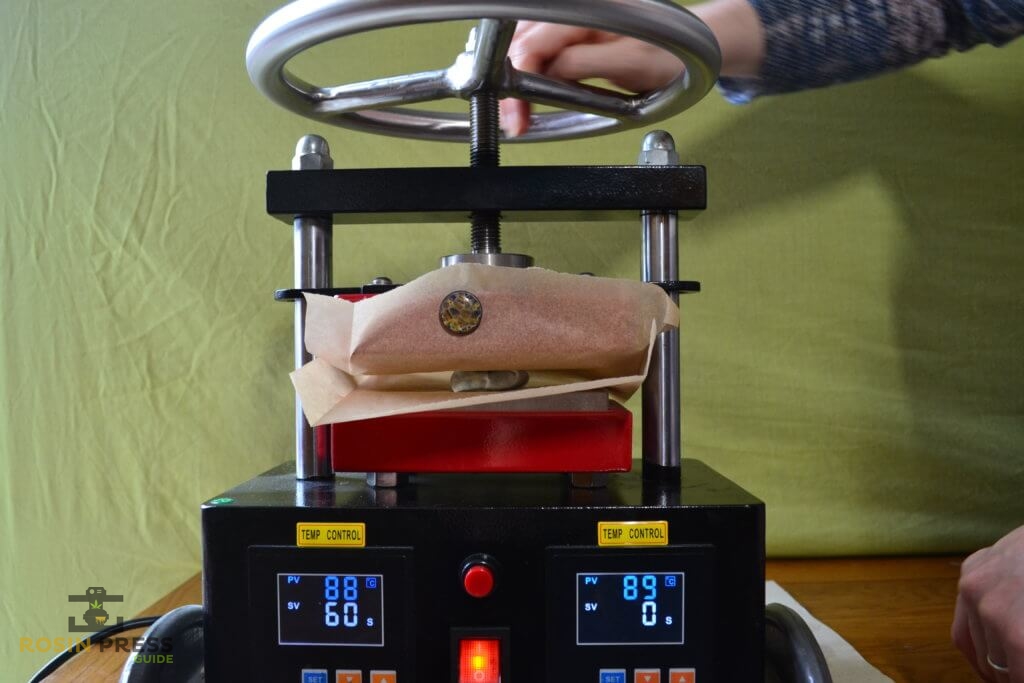
Now I have the micron bag correctly loaded in the parchment paper. And the plates heated to the correct temperature. It’s time to start cranking that press and slowly applying some pressure. Oh yes, it’s rosin pressing time…
First press
The first press is always the best, so take your time applying pressure, slowly turning the hand-crank wheel:
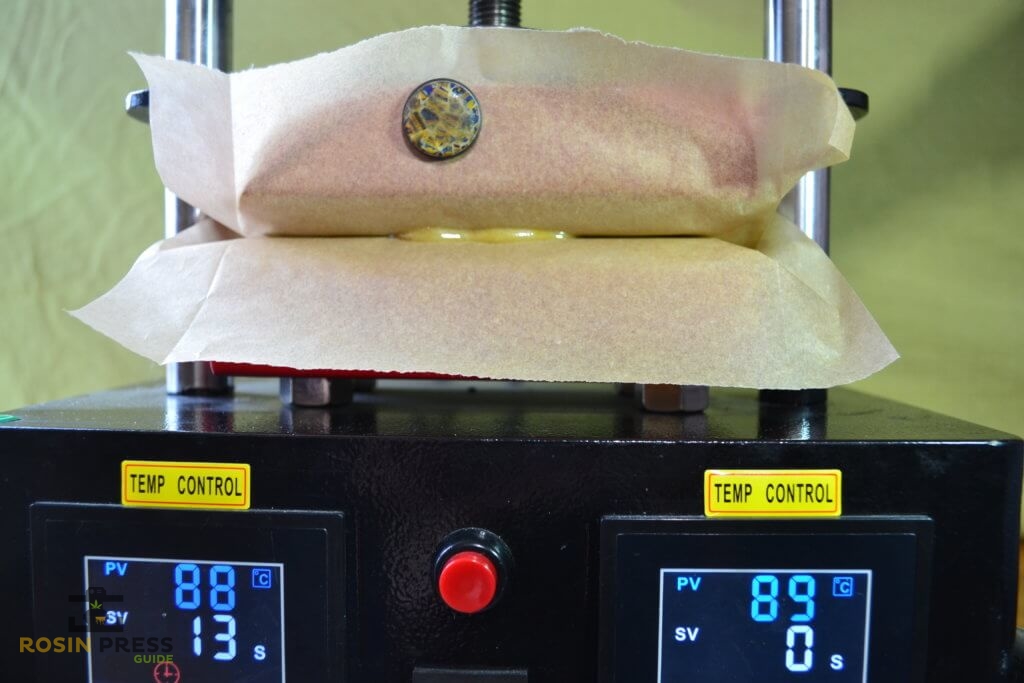
Start applying more pressure, here with the timer running for 13 seconds:
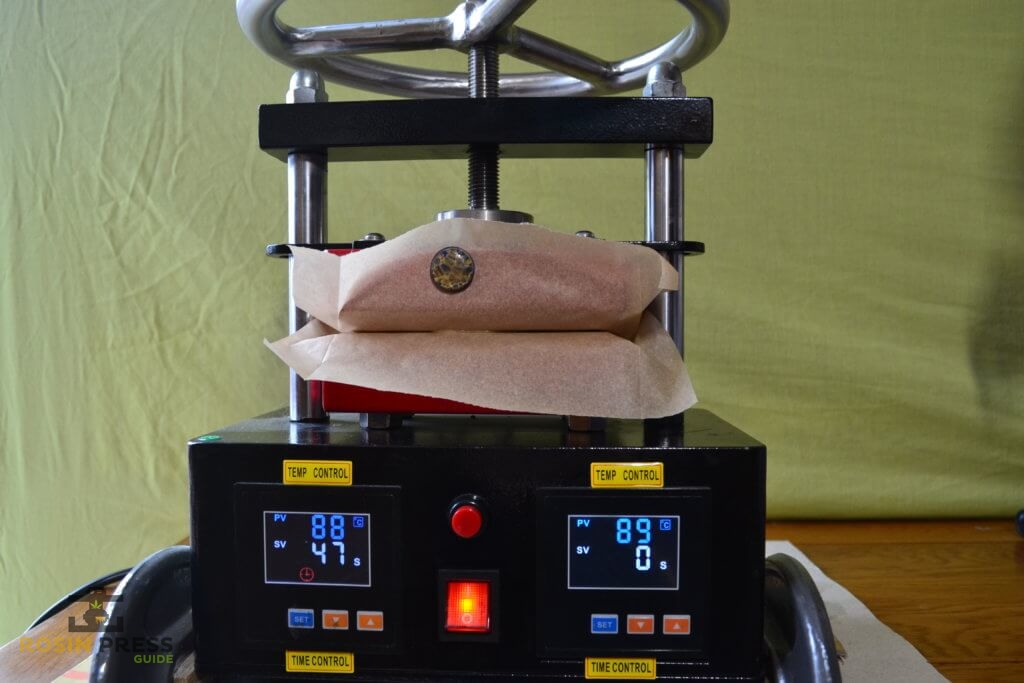
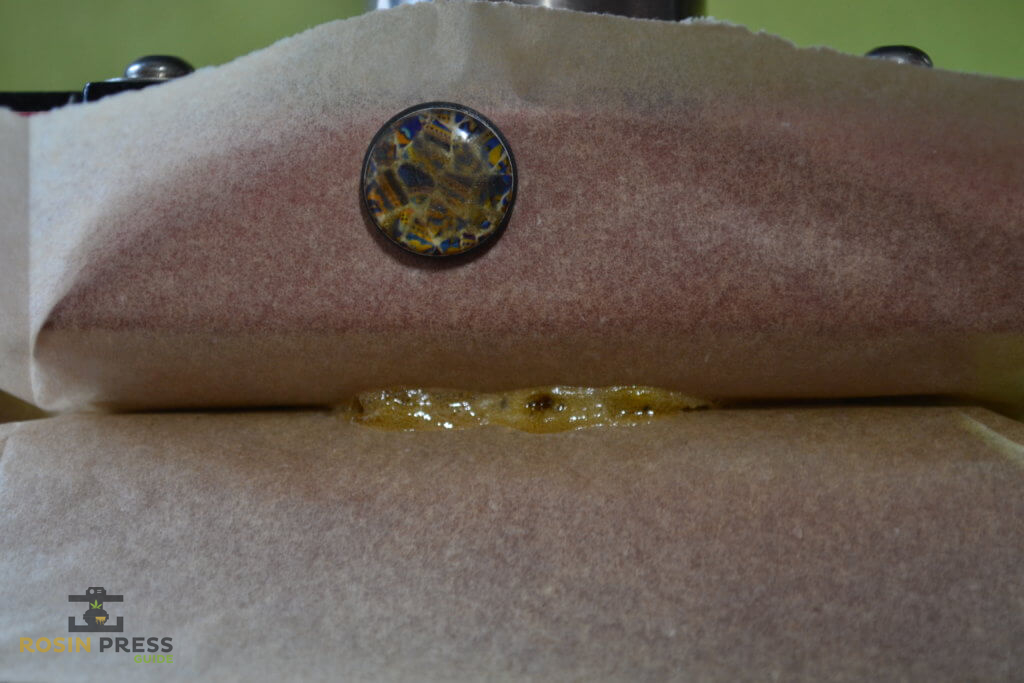
In just 13 seconds with the timer showing 47s remaining, we can already see rosin appearing between the parchment paper. This is a good sign.
Applying more pressure with the timer at 31 seconds:
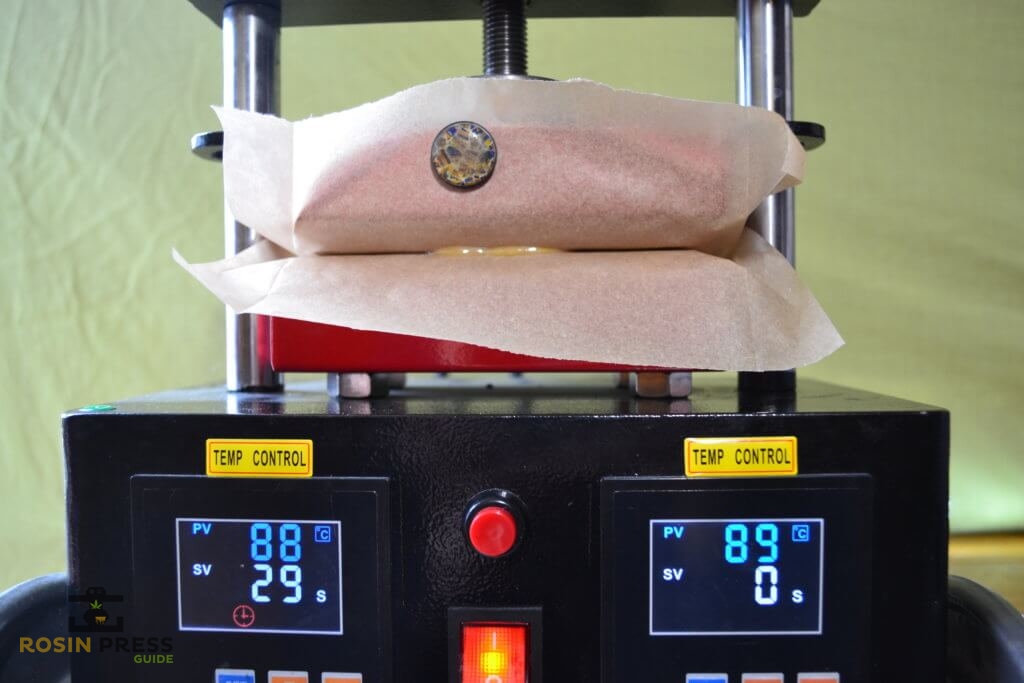
In just 31 seconds with the timer showing 29s remaining, we can see much more golden rosin bubbling in-between the parchment paper.
You can see the sexy rosin goo oozing out as the timer counts down…
Now at maximum pressure, the timer has been running for 47 seconds:
Still at maximum pressure with the timer running for full 60 seconds:
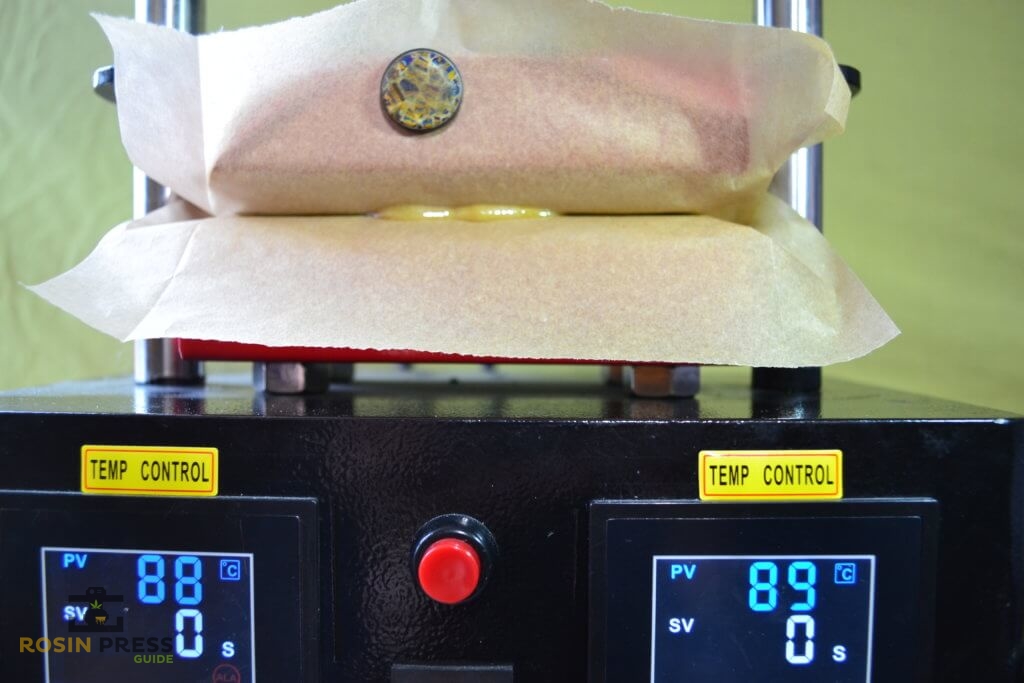
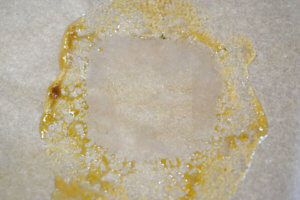
Here you can see the timer has finished counting down but we do not open the press yet as the rosin is still coming out. How do we know this?
A close up showing the rosin as it continues to flow onto the parchment paper:
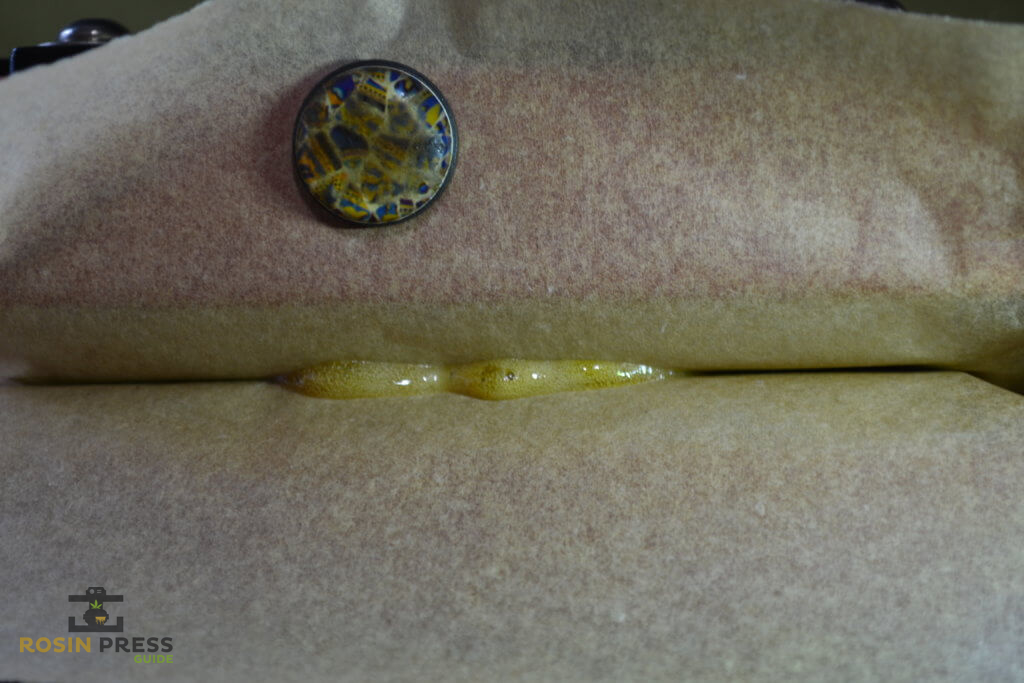
Every squish is slightly different, such as the exact amount of herb used, plate position and pressure applied.
The one minute on the timer is more of a guideline, you really need to watch the rosin as it collects. Taking caution not to apply too much pressure too quickly. Or, leave it overheating on the plates too long.
For this squish, we waited for the bubbles you can see forming to burst naturally. Only then can you be certain the rosin has stopped coming out and is just overheating on the plate.
It’s time to release the pressure:
Now we remove the magnet and quickly slide out the parchment paper, taking care not to move the bag inside disturbing the fresh rosin:
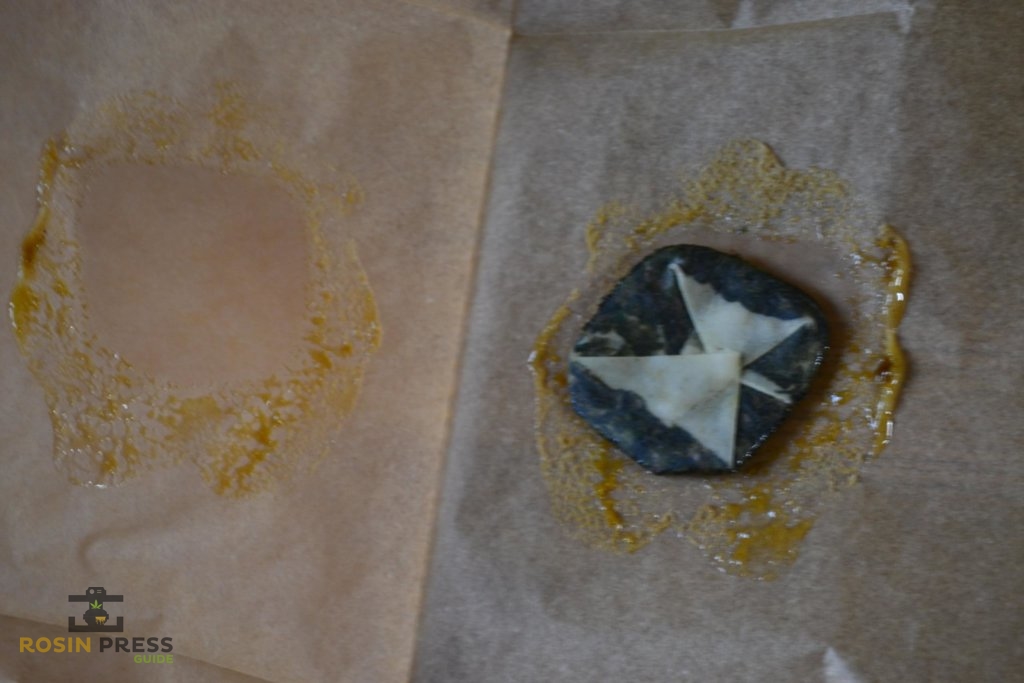
Open the parchment paper and remove the bag, and put the freshly squeezed rosin aside. Your first squish is now complete and ready for collection using a dabbing or rosin collection tool:
The image above shows a successful first press with decent results. I was very happy at this point in time.
Second press
Get more bang for your buck and don’t waste any rosin. I like to do a second squish. So I fold the micron bag in half again and position this inside another piece of parchment paper:

Then here we go again with the press… This time we apply slightly more pressure than the first squish:
This is done much more quickly only 12 – 15 seconds. I don’t use the timer on the second press I just count. Then we follow the same process as before, releasing pressure on the press, removing the magnet and the parchment paper:
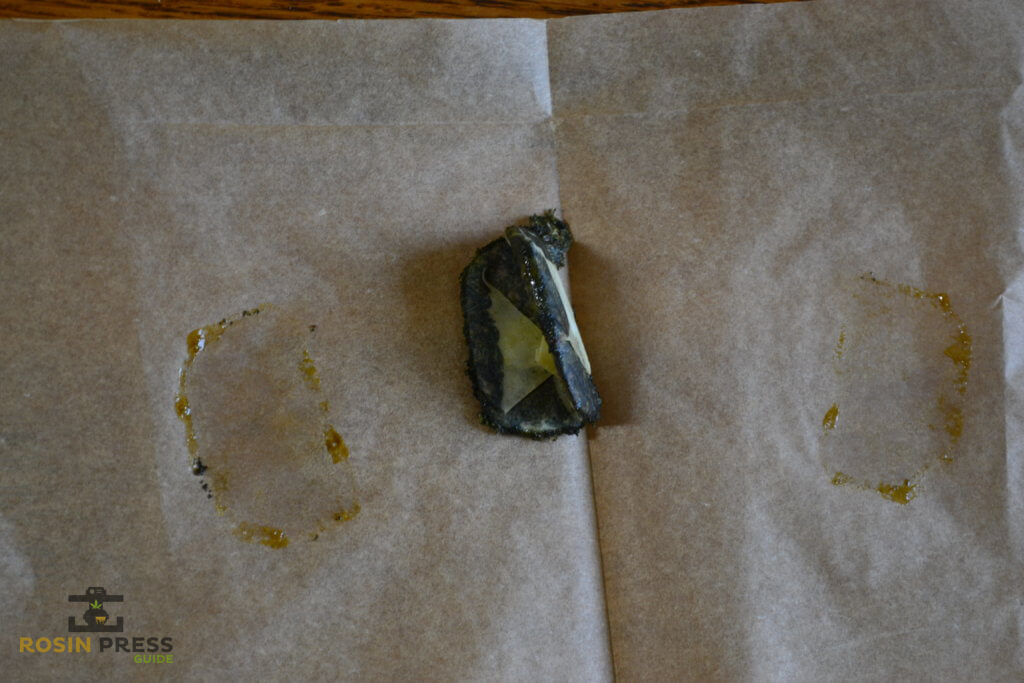
Here you can see a small split in the top and side of the bag. The plant matter has escaped because too much pressure was applied during the second press resulting in a slightly contaminated product. Balls!
This can happen, even with expensive micron bags. So, if this happens to you, just be sure to remove the debris first with tweezers. You need to pick out the plant matter from the rosin first before you can safely consume it.
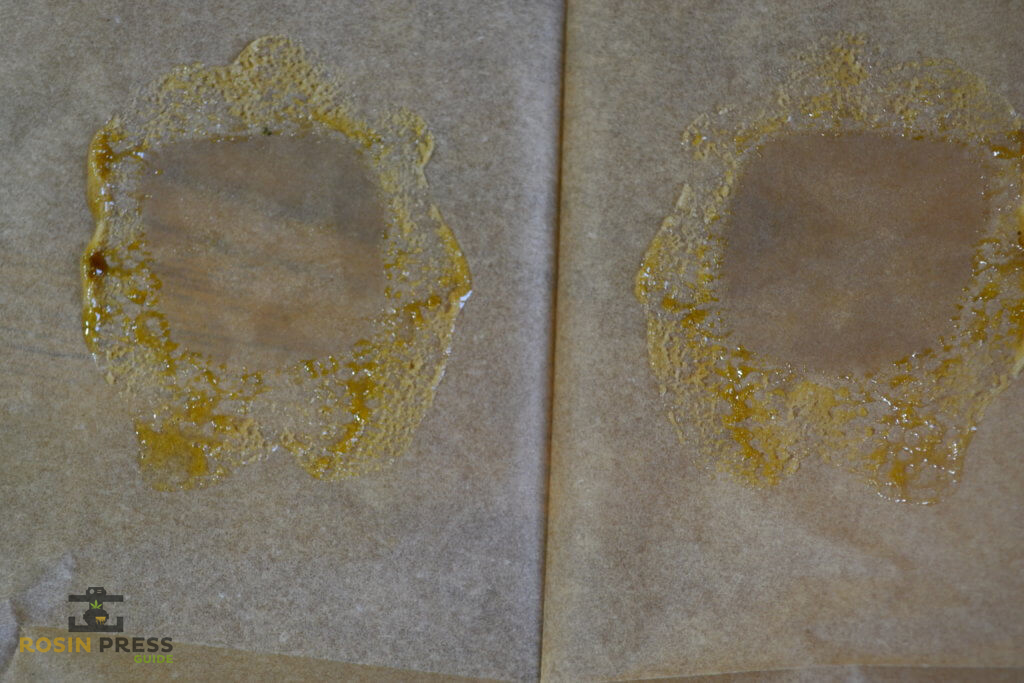
You will also notice the rosin produced in the second press is a little darker in colour and lower in strength and taste.
This is because it was heated for a longer period of time. I like to keep rosin collected from my second press separate to rosin collected from my first press, for this reason.
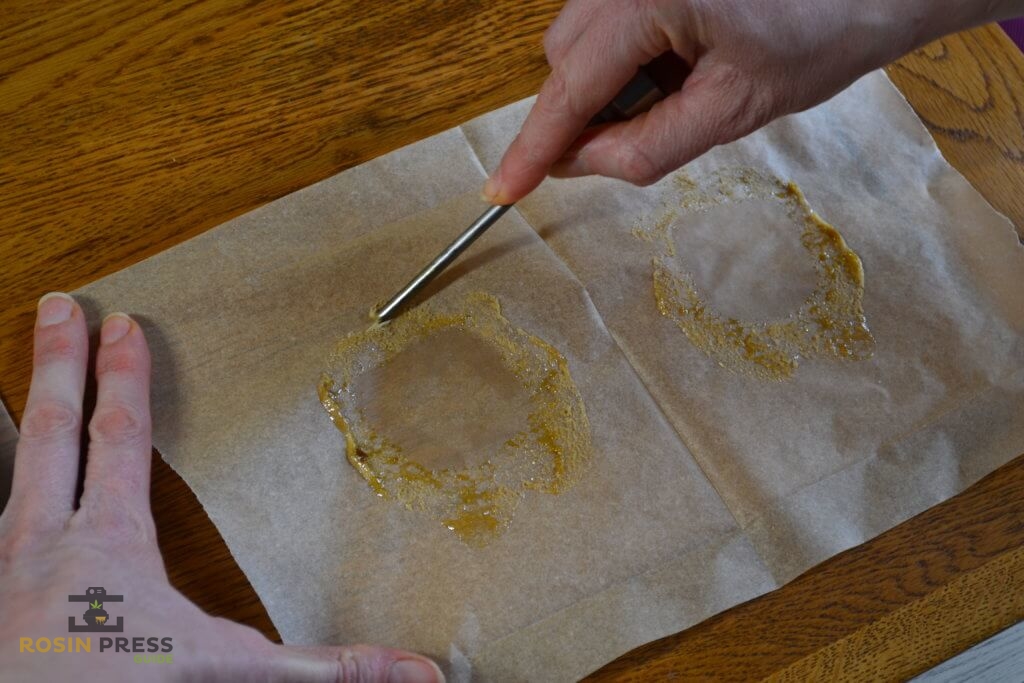
Rosin collection
It is very important to use one hand to keep the parchment paper taught and stable while using a dab tool. Then gently scrape across and collect the rosin.
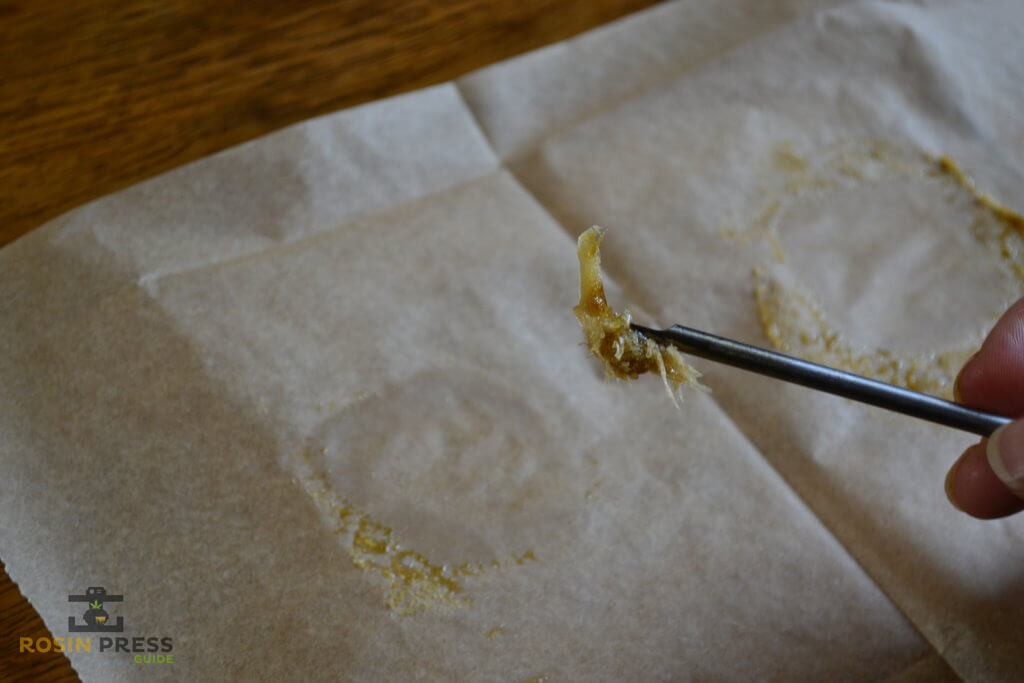
The rosin will naturally want to stick together, so just be very careful not to scratch through or tear the paper as that is an irritating problem you do not need at this point:
Lovely fresh solvent-free rosin ready to dab!
Collecting the rosin from the parchment paper is quick and simple with the right tools:
We like to store our rosin in a silicon pot inside the fridge to maintain consistency:
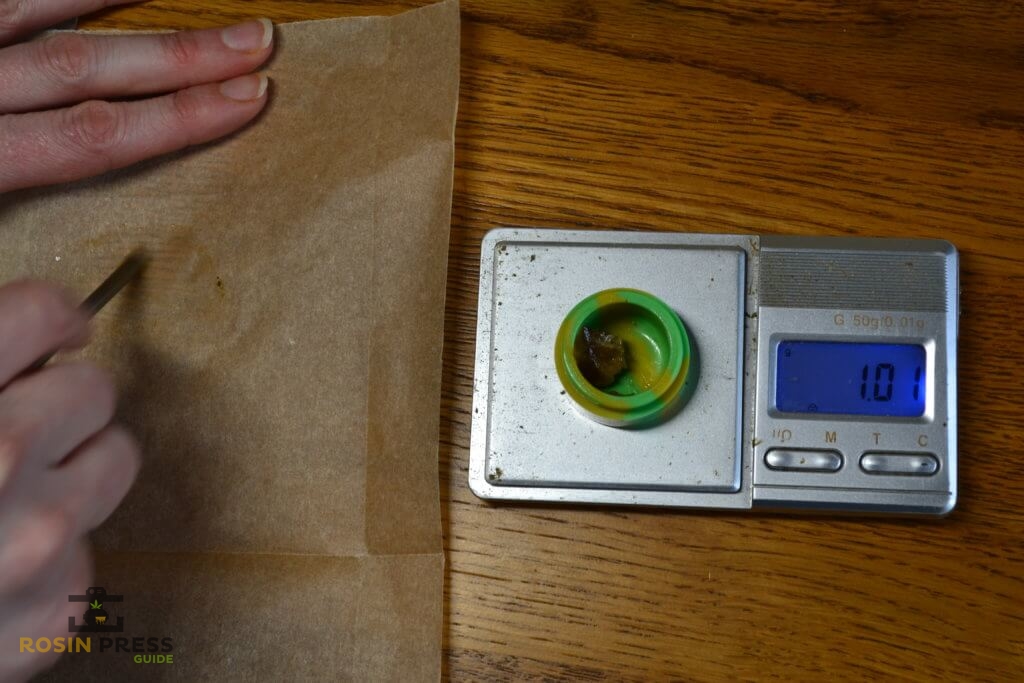
Calculating my rosin return
I calculate the percentage of rosin extracted with the following math:
Weight 1st press rosin = 0.99g
Weight of 2nd press rosin = 0.06g
0.99g + 0.06g = 1.05g
Divide this number by the dry weight of the herb = 3.91
So, 1.05 / 3.91 x 100 = 26.8% yield
So rounded up that’s a 27% return using the budget hand-crank rosin press, not bad at all!

Paul (Weeman)
Official job title: Cannabis connoisseur & rosin pressing expert
I've been using cannabis rosin to self-medicate for the past 6-7 years. Despite my life-changing spinal injuries, I'm successfully able to reduce muscle spasms and improve sleep to enjoy a healthy lifestyle.
Check out more great guides
How to load a rosin micron bag like a pro
Not all micron bags are created equal. So when it comes to pressing cannabis rosin you need to make sure…
5 benefits of pressing cannabis rosin
You may have already seen BHO and CO2 extracts with an appealing clear glass-like appearance known as shatter. Although this…
How to choose the best cannabis press
The best cannabis press will depend on your own circumstances, such as your budget, the quantity of flower/bud or hash…
Squish Rosin Like a Pro!